Windows Behavior
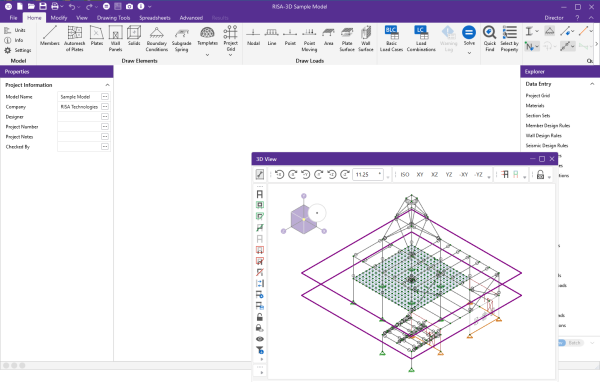
Modeling the structure takes place within model views and spreadsheets, each in their own window that may be moved around the workspace and sized as you wish. The ability to have multiple model views and multiple spreadsheets open at one time is a powerful feature. You can move the windows around by clicking the 3D View tab and dragging as desired.
These windows all contain the x ![]() in
the upper left corner to help you close the window.
There are also scroll boxes to help you view information that is outside
of the window viewing area. Click the scroll bar buttons or drag
the scroll box to advance the display in one direction or another.
in
the upper left corner to help you close the window.
There are also scroll boxes to help you view information that is outside
of the window viewing area. Click the scroll bar buttons or drag
the scroll box to advance the display in one direction or another.
Model Views
Model View windows show a graphic view of the model. Open a new view with the Open 3D Views button (shown below).
![]()
You may open as many model view windows as you like. This is especially helpful when working in close on large models. You might have one overall view and a few views zoomed in and rotated to where you are currently working. You may also have different information plotted in multiple views.
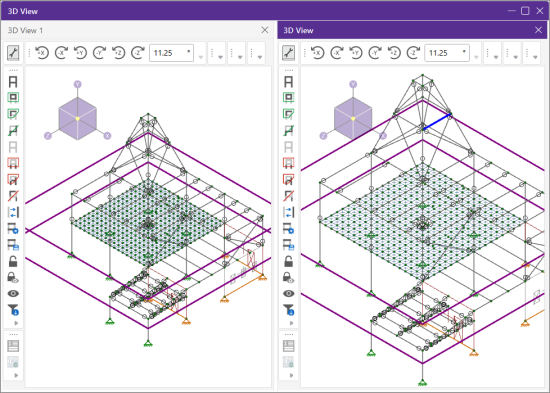
One thing to remember is that the toolbars that are displayed depends upon what window is active. The active window is the one with the highlighted purple bar. An inactive window will be grayed out as shown below where 3D View 2 is the active window.
Click on image to enlarge it
For more information on this view Window Behavior under Graphics Display.
Spreadsheets
Spreadsheet windows are made up of rows and columns of data cells. If you wish to add or edit data in a spreadsheet cell you click on the cell, making it the active cell, and then edit the cell. This active cell is simply the green cell that moves around the spreadsheet as you hit the cursor keys (← , →), Page Up, Page Down, Home, End, etc. There is always one and only one active cell, which is the cell that has the “attention” of the keyboard.
You may also select blocks of data to work on. You can select a block of data by clicking and holding the mouse button on the first cell in the block and then dragging the mouse to the opposite corner of the block and releasing the mouse.
Dialogs
A Dialog is a third type of window and is used to access a specific function within the program. Another powerful feature is that most of the dialogs may be left open while you edit the model, making it easy to make adjustments as you work. You will find that dialogs are very easy to work with. There are Help buttons that will bring you directly to the relevant topic in the help file.
Window Tiling
Standard window tilings help you set up your workspace. With any 3D view or spreadsheet, you can click the tab and drag the window into a configuration that best suites your preferences. When dragging a window you will see a circle with four arrows.
You can place the windows over each of these arrows to designate where to place the window. Placing the window over the center dot will make the window cover the entire workspace between the Properties and Explorer panels.
By placing windows over the dot within other windows, the windows tab together. See below example where 3D View 2 and 3D View 3 have been tabbed together.
Click on image to enlarge it
The best way to learn how the tiling works within the program is to try it out.
For additional information on working with viewpoint windows, see the Windows Behavior
For information about working with multiple views, see the Multiple Windows


