Printing
RISAConnection gives the ability to print in two ways: you may print the current view of your screen (everything in the Connection View) or you may print a report of your selected project details through the Report Creation Wizard.
Print Current View
When you click on the Print Current View button, or select Print Current View from the File menu, the program will automatically print whatever information you currently have on display in your Connection View window of the program. This could be the Results Report view, the 3D View, one of the 2D Views, etc.

Report Creation Wizard
When you click on the Print button, or select Print from the File menu, the program will open the Report Printing dialog. This dialog allows you to quickly select several items to print for one or several connections at once. This way you only have to click the Print button once in order to print a full report. Below are explanations of each option within the dialog.

Input Data Options
These options allow you to select (or unselect) the basic information about the whole project. This includes:
- Include Global Description - This will include a section in your report which reports all the information from the Description tab of the Global Parameters dialog.
- Include Global Solution Options - This will include a section in your report which reports all the information from the Solution tab of the Global Parameters dialog.
- Include Project Explorer Summary - This will include a section in your report which reports a summary list of all the connections in your project. This will look like the information from the Project Explorer in the upper right-hand corner of your screen.
Report Options
These options allow you to select (or unselect) the specific information about each of the connections that you have selected into the Connections in the Report column. This includes:
- Include All 2D Views - This will include the 2D Views for your connection, as seen on the 2D View tab of your Connection View. The printed size of these images is controlled by the Size of the 2D/3D Image control on the Report Settings dialog.
- Include the 3D View - This will include the 3D View for your connection, as seen on the 3D View tab of your Connection View. The printed size of this image is controlled by the Size of the 2D/3D Image control on the Report Settings dialog.
- Include the Connection Properties - This will include all your input information from the Connection Properties window in the lower right-hand corner for your screen.
- Include the Limit State Report - This will include the results report either in a Fully Expanded View (all the limit state details are expanded), or in a Fully Collapsed View (only the limit state labels and summary information is displayed). If you have selected just one connection to include with your report and this is the same connection that you are currently viewing, you will also have the open to print the As Seen View. This means that whatever state your limit state results report shows will be exactly what prints with the report. This means that if you have some limit states expanded and others collapsed, the printed report will show exactly this.
- Include the Members Report - This will include all the member-specific information in your report. This is the same information that is displayed on the Members tab of the results report.
- Include the Components Report - This will include all the component-specific information in your report. This is the same information that is displayed on the Components tab of the results report.
Load Combination
If you have created your RISAConnection model from exporting results from RISA-3D or RISAFloor, you will have load input from each load combination. When printing the report, you can select a single Load Combination to show results for, or print the governing (Max LC) for each connection.
- This is not available when you are using RISAConnection in stand alone mode (without RISA-3D or RISAFloor integration).
PDF Attachments
You may also add external PDF results to your RISAConnection report. Select the File Location to look for your PDF files, and then they will show up under the Available PDF Attachments section where you can move them to the right side to print in the report.
Available Connections and Connections in the Report
These columns allow you to select which connections (or group of connections) shall be included in the report output. To select connections to be included in the report simply highlight them (you can highlight a single connection or a group of connections) then click on the Add button to move them into the right-side column. This will tell the dialog that you want these connections included in the report. Similarly you can remove them using the Remove button.
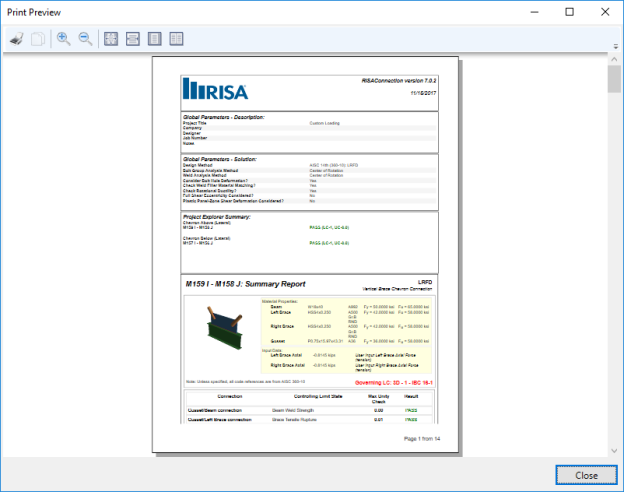
Print Preview
Pressing the Print Preview button will open the Print Preview dialog.