Click the ![]() Show Tendons icon (under Visibility) to turn on the tendons displayed in the plan.
Show Tendons icon (under Visibility) to turn on the tendons displayed in the plan.
Use the ![]() Tendon Display Manager icon (under Visibility) to open the Tendon Display Manager Panel (as shown in the following image).
Tendon Display Manager icon (under Visibility) to open the Tendon Display Manager Panel (as shown in the following image).
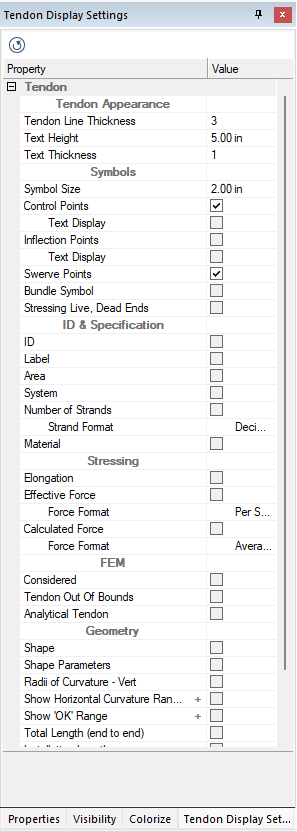
Make the selections in the Display Manager to coincide with the information you want exported with the tendons to the DWG/DXF file. An example is shown in the image above.
If the font size is too small, you may adjust the Text Height property in the tendon Display Manager.
You are now ready to export the tendons to a CAD drawing to produce your documentation.
Click the File ribbon and choose Export.
An export panel opens.
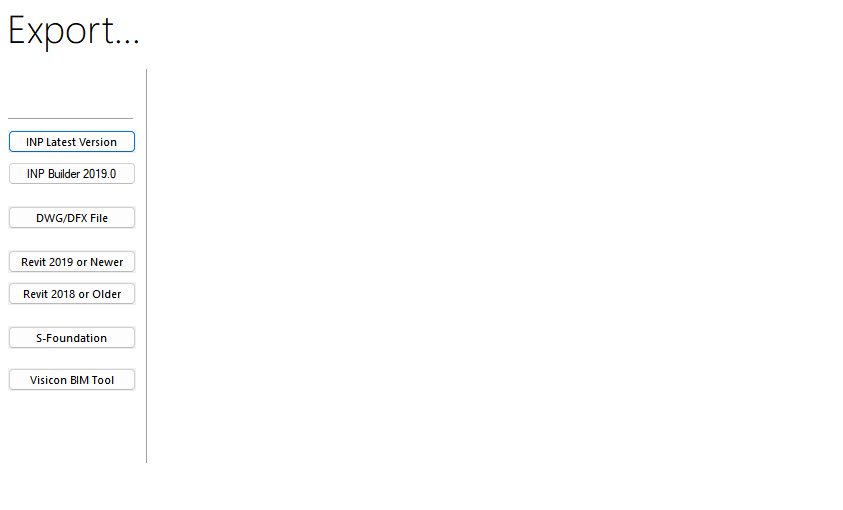
Click on the DWG/DXF File button.
A window opens for selecting the CAD version and tendon type (linear or spline) for export of the current view, as a .DWG or .DFX file.
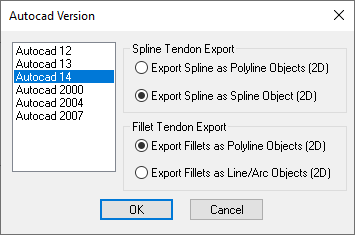
Click on the Autocad version you want to export to.
Under Spline Tendon Export, choose the option you want to use to export Spline tendons (as shown in the image under step 6).
Under Fillet Tendon Export, choose the option you want to use to export Fillet tendons (as shown in the image under step 6).
Click OK.
An Export a DXF or DWG File [chosen Autocad version] window opens.
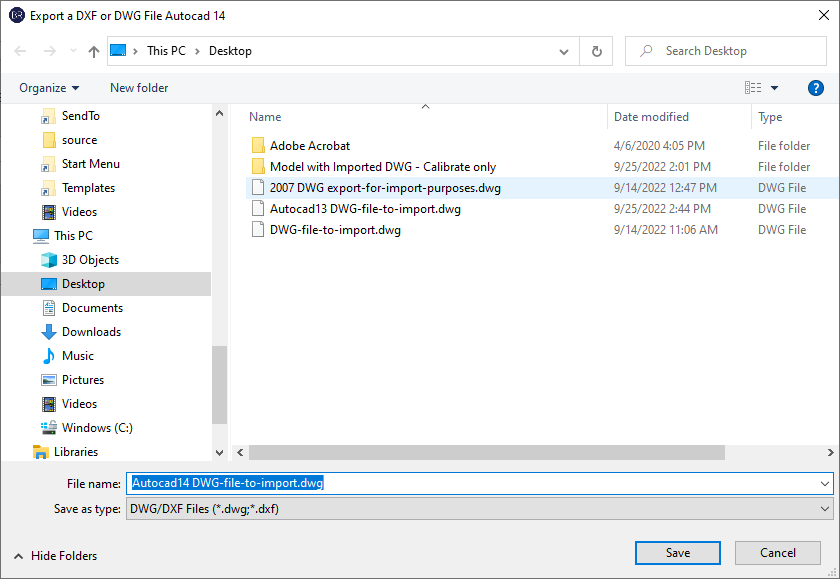
Locate the location where you want to save the exported file.
In the File name box, type a name for the export file.
Click Save to create the file.
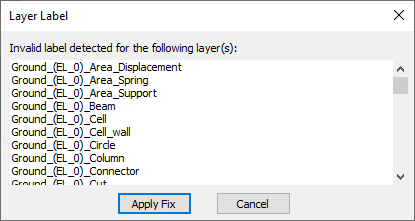
Click on Apply Fix if prompted to fix layer names (as shown in the following image).
This action allows the export to complete successfully.
