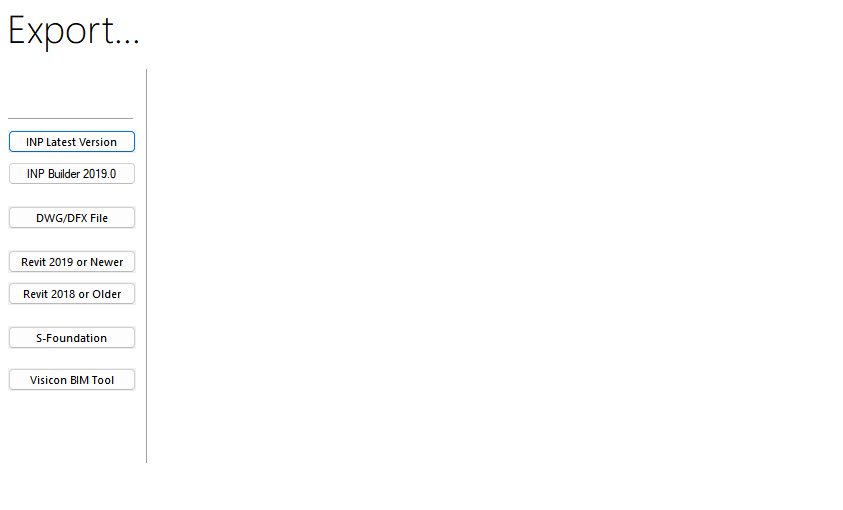
Click the File ribbon and choose Export.
An export panel opens.

Click on the DWG/DXF File button.
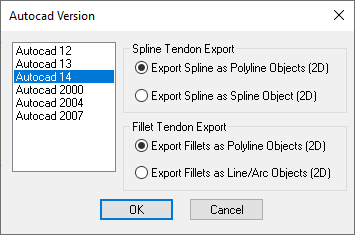
A window opens for selecting the CAD version and tendon type (linear or spline) for export of the current view, as a .DWG or .DFX file.

This window lets you choose the drawing version as well as whether you want the drawing to export tendons as Polylines or Splines.
Click on the Autocad version you want to export to.
Click on the Spline Tendon Export option you want.
Click on the Fillet Tendon Export option you want.
Click OK.
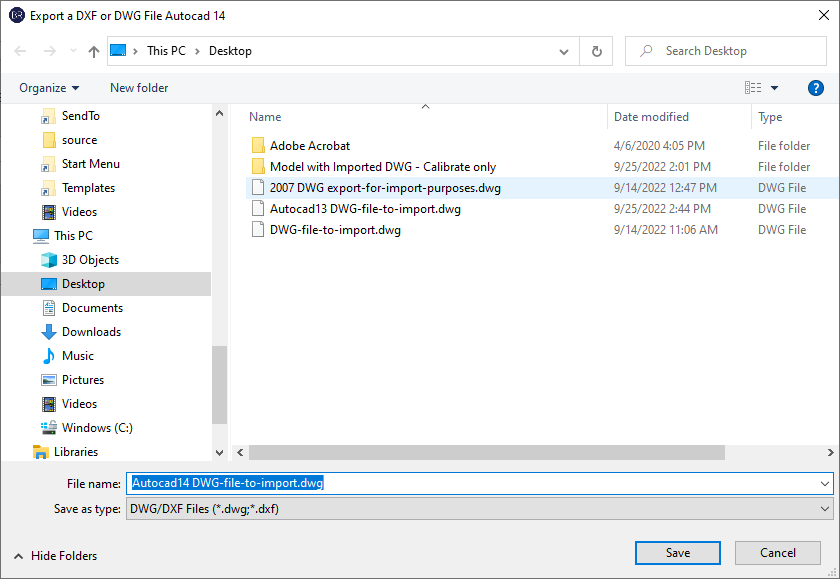
An Export a DXF or DWG File [chosen Autocad version] window opens.

Locate the location where you want to save the exported file.
In the File name box, type a name for the export file.
Click Save to create the file.
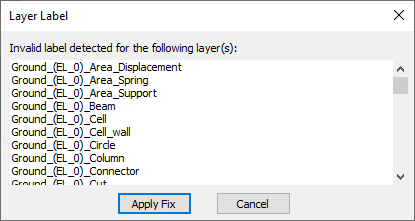
Click on Apply Fix if prompted to fix layer names (as shown in the following image).
This action allows the export to complete successfully.
