In the Level Tools toolbar, click the Level Assignment ![]() icon to open the Reference Plane Manager.
icon to open the Reference Plane Manager.
Select the level you want the loads to be imported to.
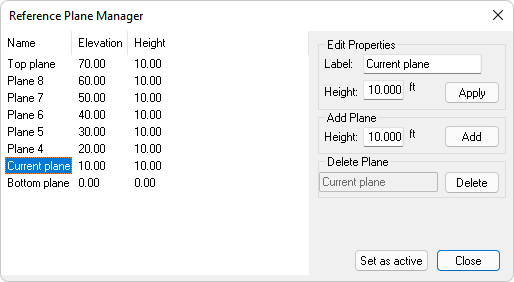
Click the Set as active button to make the selected plane the active plane.
Click on the File tab to open the File menu and choose Import. Alternatively, you can go to Loading>Import Loads and click on the Import from RISA ![]() icon.
icon.
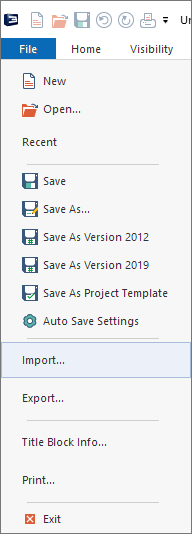
An Import panel opens.

Click on RISA Loads.
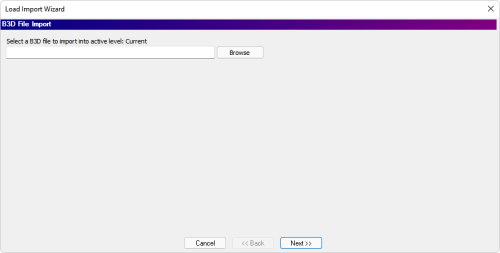
A B3D Import Wizard opens.
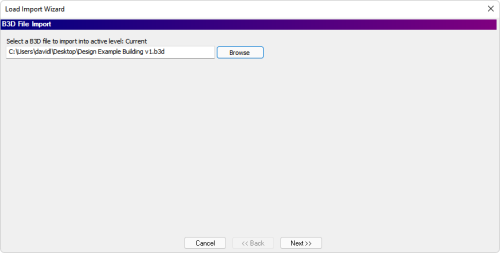
Browse to where the B3D file is and select it.
Click Next.
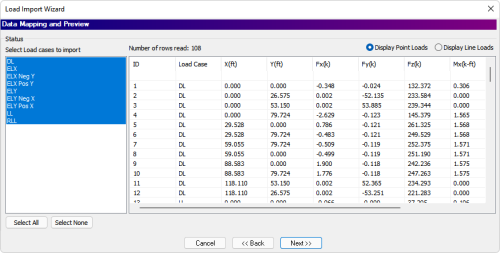
A Data Mapping and Preview list displays. For information on how the different load cases from RISA-3D map to ADAPT-Builder please refer to the B3D Load Case Mapping pdf file.
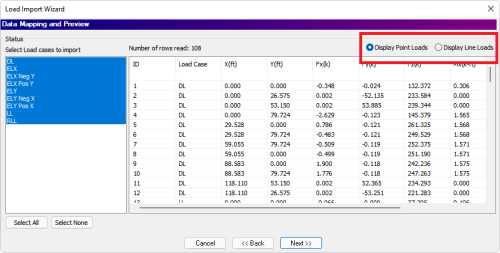
Review the mappings. The mappings for point and line loads are shown separately. Click on the Display Point Loads and Display Line Loads radio buttons to switch between the point and line loads found in the B3D file.
If the data appears to be incorrect, click Cancel to cancel the import. Fix the issues in the XLS file, and then start the import procedure again.
If the data appears to be correct, make sure the load cases in the Select load cases to import pane whose loads you want to import into the model are highlighted in blue. If a load case is highlighted that you do not want to import, left-click on that load case to deselect it.
Once you have all the load cases you want to import loads from selected, click Next.
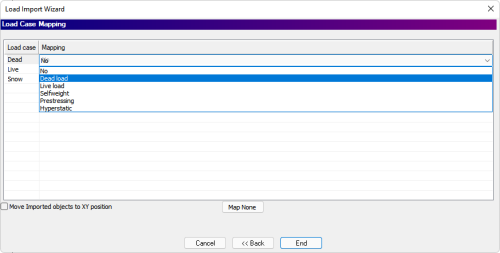
A Load Case Mapping list displays.
The Mapping option lets you map (assign) an imported load case to the load case that already exists in your ADAPT-Builder model. The mapping list includes the various load cases that are in your current model. For example, if we set the mapping option to Dead Load, the imported load case is imported as 'Dead Load' and no additional load cases are created; if it is set to NO (Map None), the program adds load case "Dead" and assigns it to the imported load.
Do one of the following, based on whether or not you want to map load cases.
-
Map load cases:
-
Click the Mapping arrow and select the load case in the model you want the imported load mapped to.
-
Repeat this step for each load case.
-
-
Do not map load cases:
-
Click the Map None button
-
(Optional) Check the Move Imported Objects to XY position checkbox, only if you want to do so in the model you are importing into.
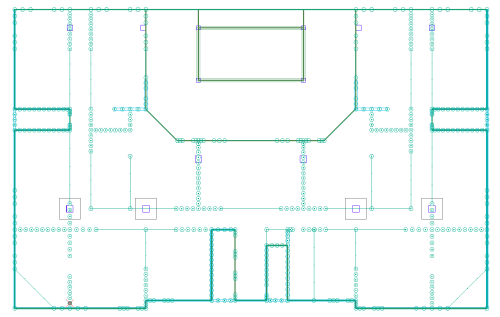
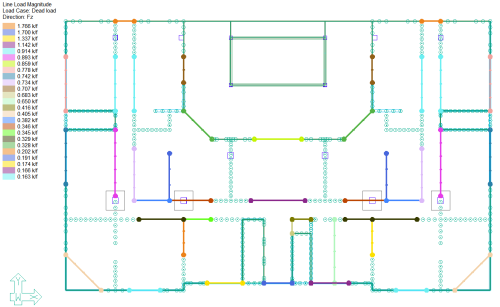
Click End to finish the import. An example of loads imported from RISA-3D to ADAPT-Builder is shown in the image below.
The user can now use the Colorize Grid to Colorize Loads to easily and efficiently check the imported loads in the model.
