Drop Cap and Drop Panel Consideration for Punching Shear Design
The Punching Shear check considers both Drop Caps and Drop Panels when creating critical sections for the Two-Way Shear Design. Whether modeling a Drop Cap, a Drop Panel, or a Drop Cap within a Drop Panel, the critical sections will be considered at the support, at the Drop Cap, and at the Drop Panel, when performing a punching shear check.
Note: If the drop cap or drop panel is modeled as a slab region, the program will only check two-way shear within the thickened slab region and does not check additional critical sections outside of the thickening.
Note: There is no difference between a drop cap and a drop panel in ADAPT-Builder. They are modeled with the same component and considered analytically the same.
To draw a drop cap or drop panel at a support:
-
Go to the Model ribbon.
-
Click on the Drop Panel icon.

-
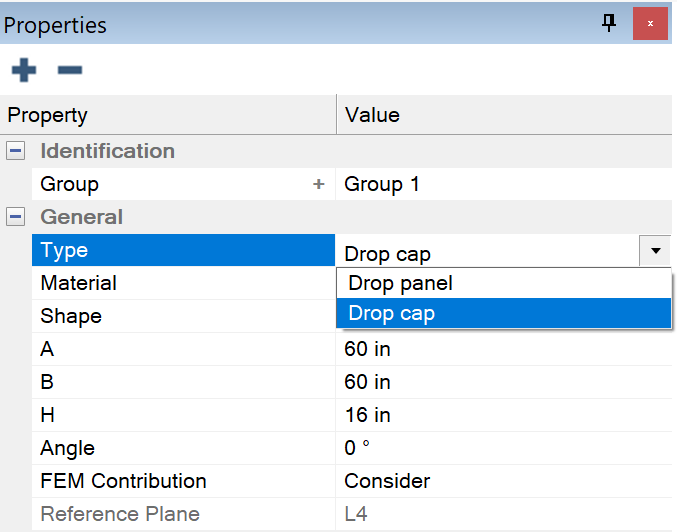
Modify the Type in the Properties Grid by choosing Drop Panel or Drop Cap from the drop-down menu.
Click on image to enlarge it
-
Click on a support (column or short wall) to place the Drop Cap/Panel.
-
To place a drop cap and drop panel at the same support, after drawing the drop cap/panel at the support, repeat steps 2 through 4, except choose the other Type from the Properties Grid in the third step.
Note: Drop caps can be drawn within drop panels, but drop panels cannot be drawn within drop caps. If you draw a drop panel within a drop cap, the program will give you a warning message which tells you to switch the drop cap/panel type.
-
After placing the Drop Cap/Panel, you must set the properties of the Drop Cap/Panel in the Properties Grid.
-
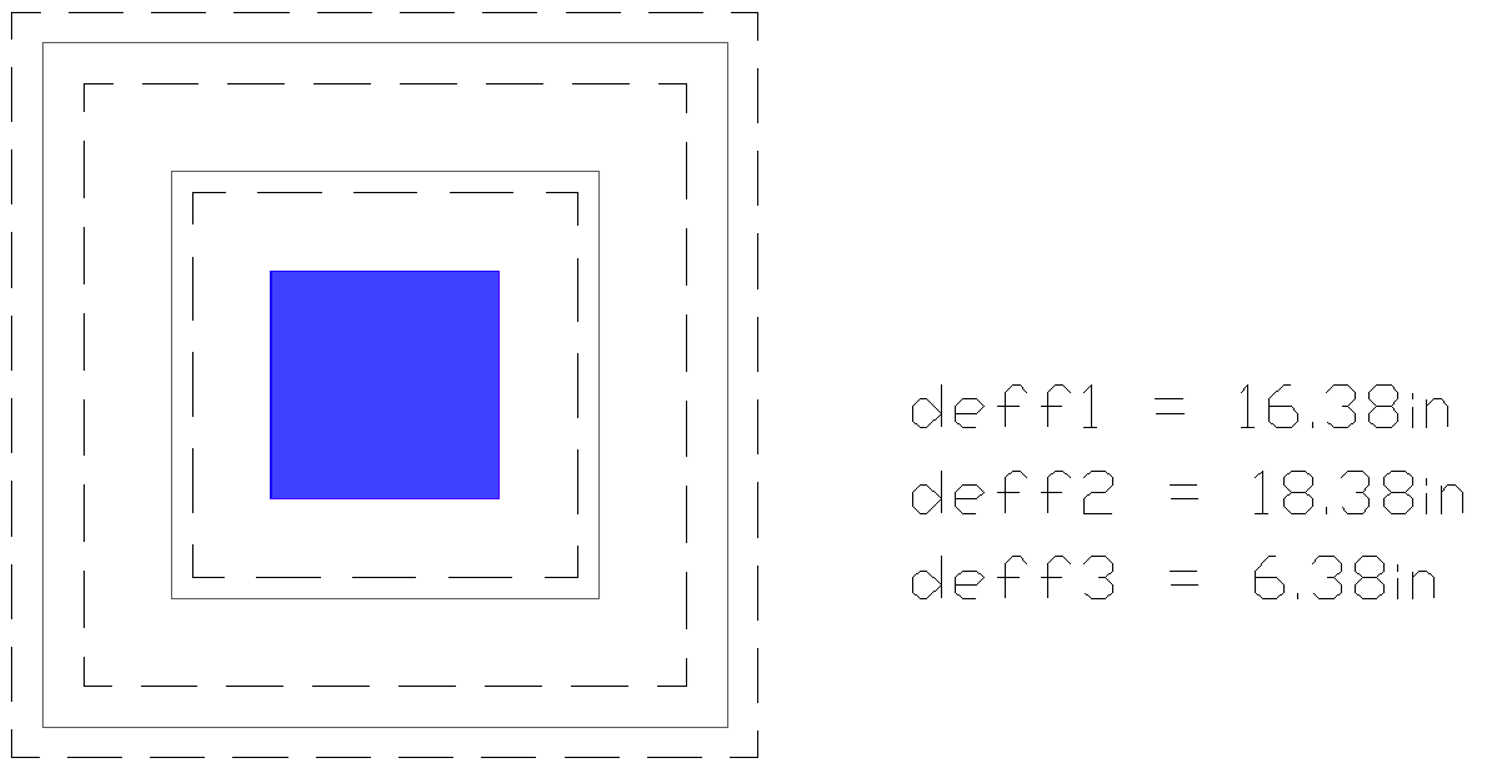
Once the drop panels and drop caps are modeled, you can Perform a Two-Way (Punching) Shear Check and View Two-Way (Punching) Shear Check Results.
Click on image to enlarge it