|
Method
|
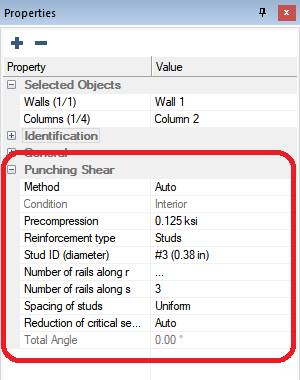
Method allows you to choose between an Auto (default) or User method.
-
Auto: When Auto is selected, the program automatically classifies the column as Interior (4-sided), End/Edge (3-sided), or Corner (2-sided) condition.
If the distance from the column face to the free edge of the slab is >4*slab thickness, the side is considered.
-
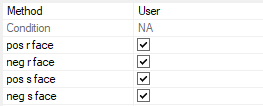
User: When User is selected, additional user checkboxes are enabled for the positive and negative r and s local axis directions.
Click on image to enlarge it
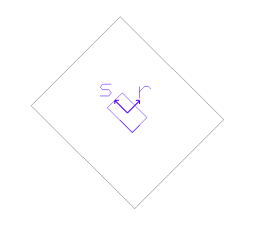
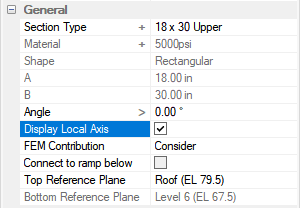
The local axis along the column can be turned on in the Properties Grid>General section by selecting the Display Local Axis option.
Note: Condition is inactive when using the 'User' method. Once the user performs the punching shear check the Condition will update automatically based on the user inputs.
If a check box is selected, the program considers that side of the support when determining the critical section. In essence, all 4 boxes selected is the same as an automatically defined Interior condition. This allows you to classify the column as you see fit, rather than depending on the program auto-classifying for all columns.
|
|
Condition
|
Condition reports the classification for the column as Interior, End/Edge, or Corner, when the Punching Shear Method is set to 'Auto'.
This property is not editable.
|
|
Precompression
|
Precompression allows you to set the default value used in the calculation of two-way concrete shear strength for prestressed slab conditions; allowing you to change the value for Fpc.
|
|
Reinforcement Type
|
Reinforcement Type allows you to set the shear reinforcement type used for punching shear.
Options are 'Stud' or 'Stirrups'.
|
|
Stud ID/Bar Diameter
|
Depending on the reinforcement type, Stud ID/Bar Diameter allows you to select stud diameters or bar sizes for stirrups from a drop-down list.
You can add more sizes through the rebar library in the Criteria: Preferred Reinforcement Size and Material - tab.
|
|
Number of Rails along r (stud only)
|
Number of Rails along r allows you to specify how many rails are assigned to the column r side.
Note: The global setting for limiting the rail spacing to a multiple of the effective depth supersedes this value, if more rails are needed.
|
|
Number of Rails along s (stud only)
|
Number of Rails along s allows you to specify how many rails are assigned to the column s side.
Note: The global setting for limiting the rail spacing to a multiple of the effective depth supersedes this value, if more rails are needed.
|
|
Spacing of Studs
(stud only)
|
Spacing of Studs only applies if 'Stud' is selected as the Reinforcement Type with Uniform or Calculated selection options.
-
Uniform: When Uniform is selected, the program normalizes the spacing of studs to give the same spacing. The program uses the least spacing from the calculated outcome and applies this over the total rail length.
-
Calculated: When Calculated is selected, it gives the spacing in unique ranges with like spacing values.
|
|
Reduction of critical section
|
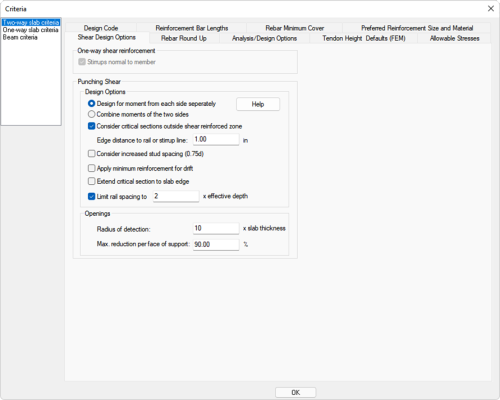
Reduction of critical section is always set as 'Auto' which instructs the program to check for openings in the vicinity of columns, to reduce the critical section lengths. Refer to the Detection of Openings for Punching Shear Check topic for more information.
|
|
Total Angle
|
Total Angle reports the total and all angles from the positive 'r' local axis direction counter-clockwise to the projection ray of the opening corners. These angles are used in determining the length of reduction for critical sections that pass-through the projection ray of the openings within the opening radius of detection.

|
